Do you recall some media sensations about being able to use an infrared camera to see through people’s cloths? That was sometime in the mid 2000s and I can attest to how true it was!
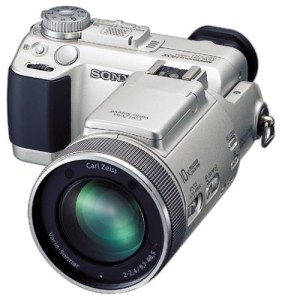
In 2005 I picked up a Sony F717 and Hoya Infrared filter not knowing about its “perv feature.” The Sony had a special nighttime shooting mode that only picked up a certain portion of the light spectrum, and when paired with a special filter, it made infrared images.
When you receive a new toy at the office your subjects become your coworkers and that was how I discovered white shirts were basically nonexistent to this camera combination. I’m not going to deny nor admit to any shenanigans that happened after this discovery, but I can say there is absolutely no evidence! Being the responsible manager I am that camera quickly went home to never return to the workplace. Being the irresponsible male that I am I can only say it never went back to work 🙂
What is infrared photography?
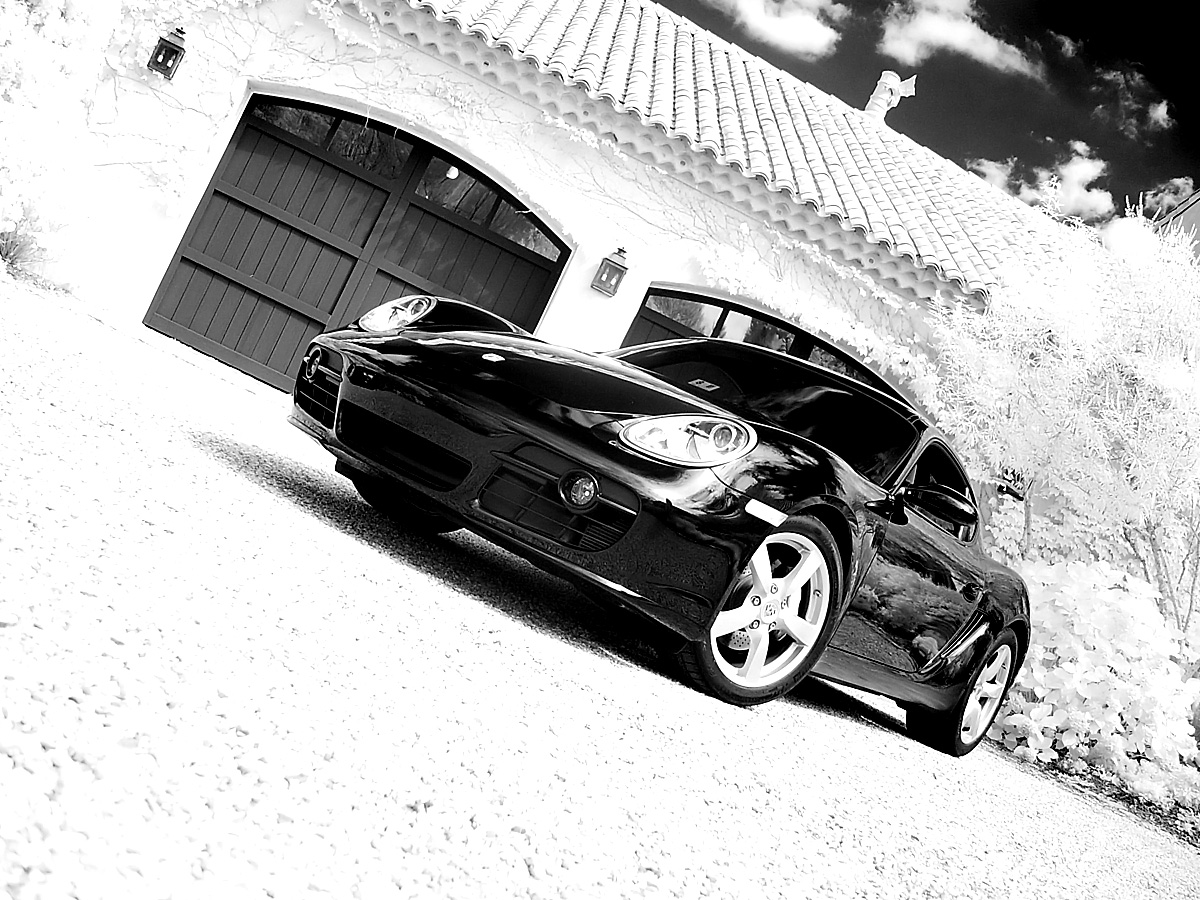
Wikipedia dives into the technical details. In Alex terms it is a form of photography creativity that darkens skies and water while turning vegetation white. It is almost like a high contrast black and white image.
How do you make infrared images?
In the digital world this is done through two methods:
1) Use of a special infrared filter
Hoya makes a threaded filter that can be screwed onto a camera lens that only allows visible light above 790nm to penetrate. This is probably the least expensive way to create an infrared photo assuming you already have a camera and lens that can accept one of their filter sizes. It is limited because it requires long exposure times to get enough light through to create a full exposure. This means you may be limited to brighter days when the sun is strongest paired with subjects you want in long motion (water or clouds for example). This is not going to work if you want quick action shots though.
2) A camera conversion that is basically a filter placed on the camera’s sensor
This would entail sending off a Digital SLR body or mirrorless camera to a company like LifePixel to have a filter placed on the camera sensor. It makes it so the camera can only shoot in infrared with the benefit of being able to use it in almost any lighting situation you normally could (night gets tricky). This is the expensive way to do it because you’re donating a camera to the infrared gods and paying them for the service.
Damn right I went the expensive route!
I always do. Although I didn’t go as expensive as I could have because I thought about getting a Sony mirrorless body and some lens for that body to really jack my investment up. I reserved myself to converting an old Canon 1D Mark III instead. See, I’m quite sensible with my money….those 1D bodies are cheap 😉

After some research on the various photography forums it seemed that nobody had ever had an issue with LifePixel. And LifePixel offered a more challenging conversion that seemed to speak higher to creativity than just your standard infrared camera. I chose the Super Color IR conversion also known as a 590nm conversion. You can compare the different offerings they have within the LifePixel Infrared Filter page.
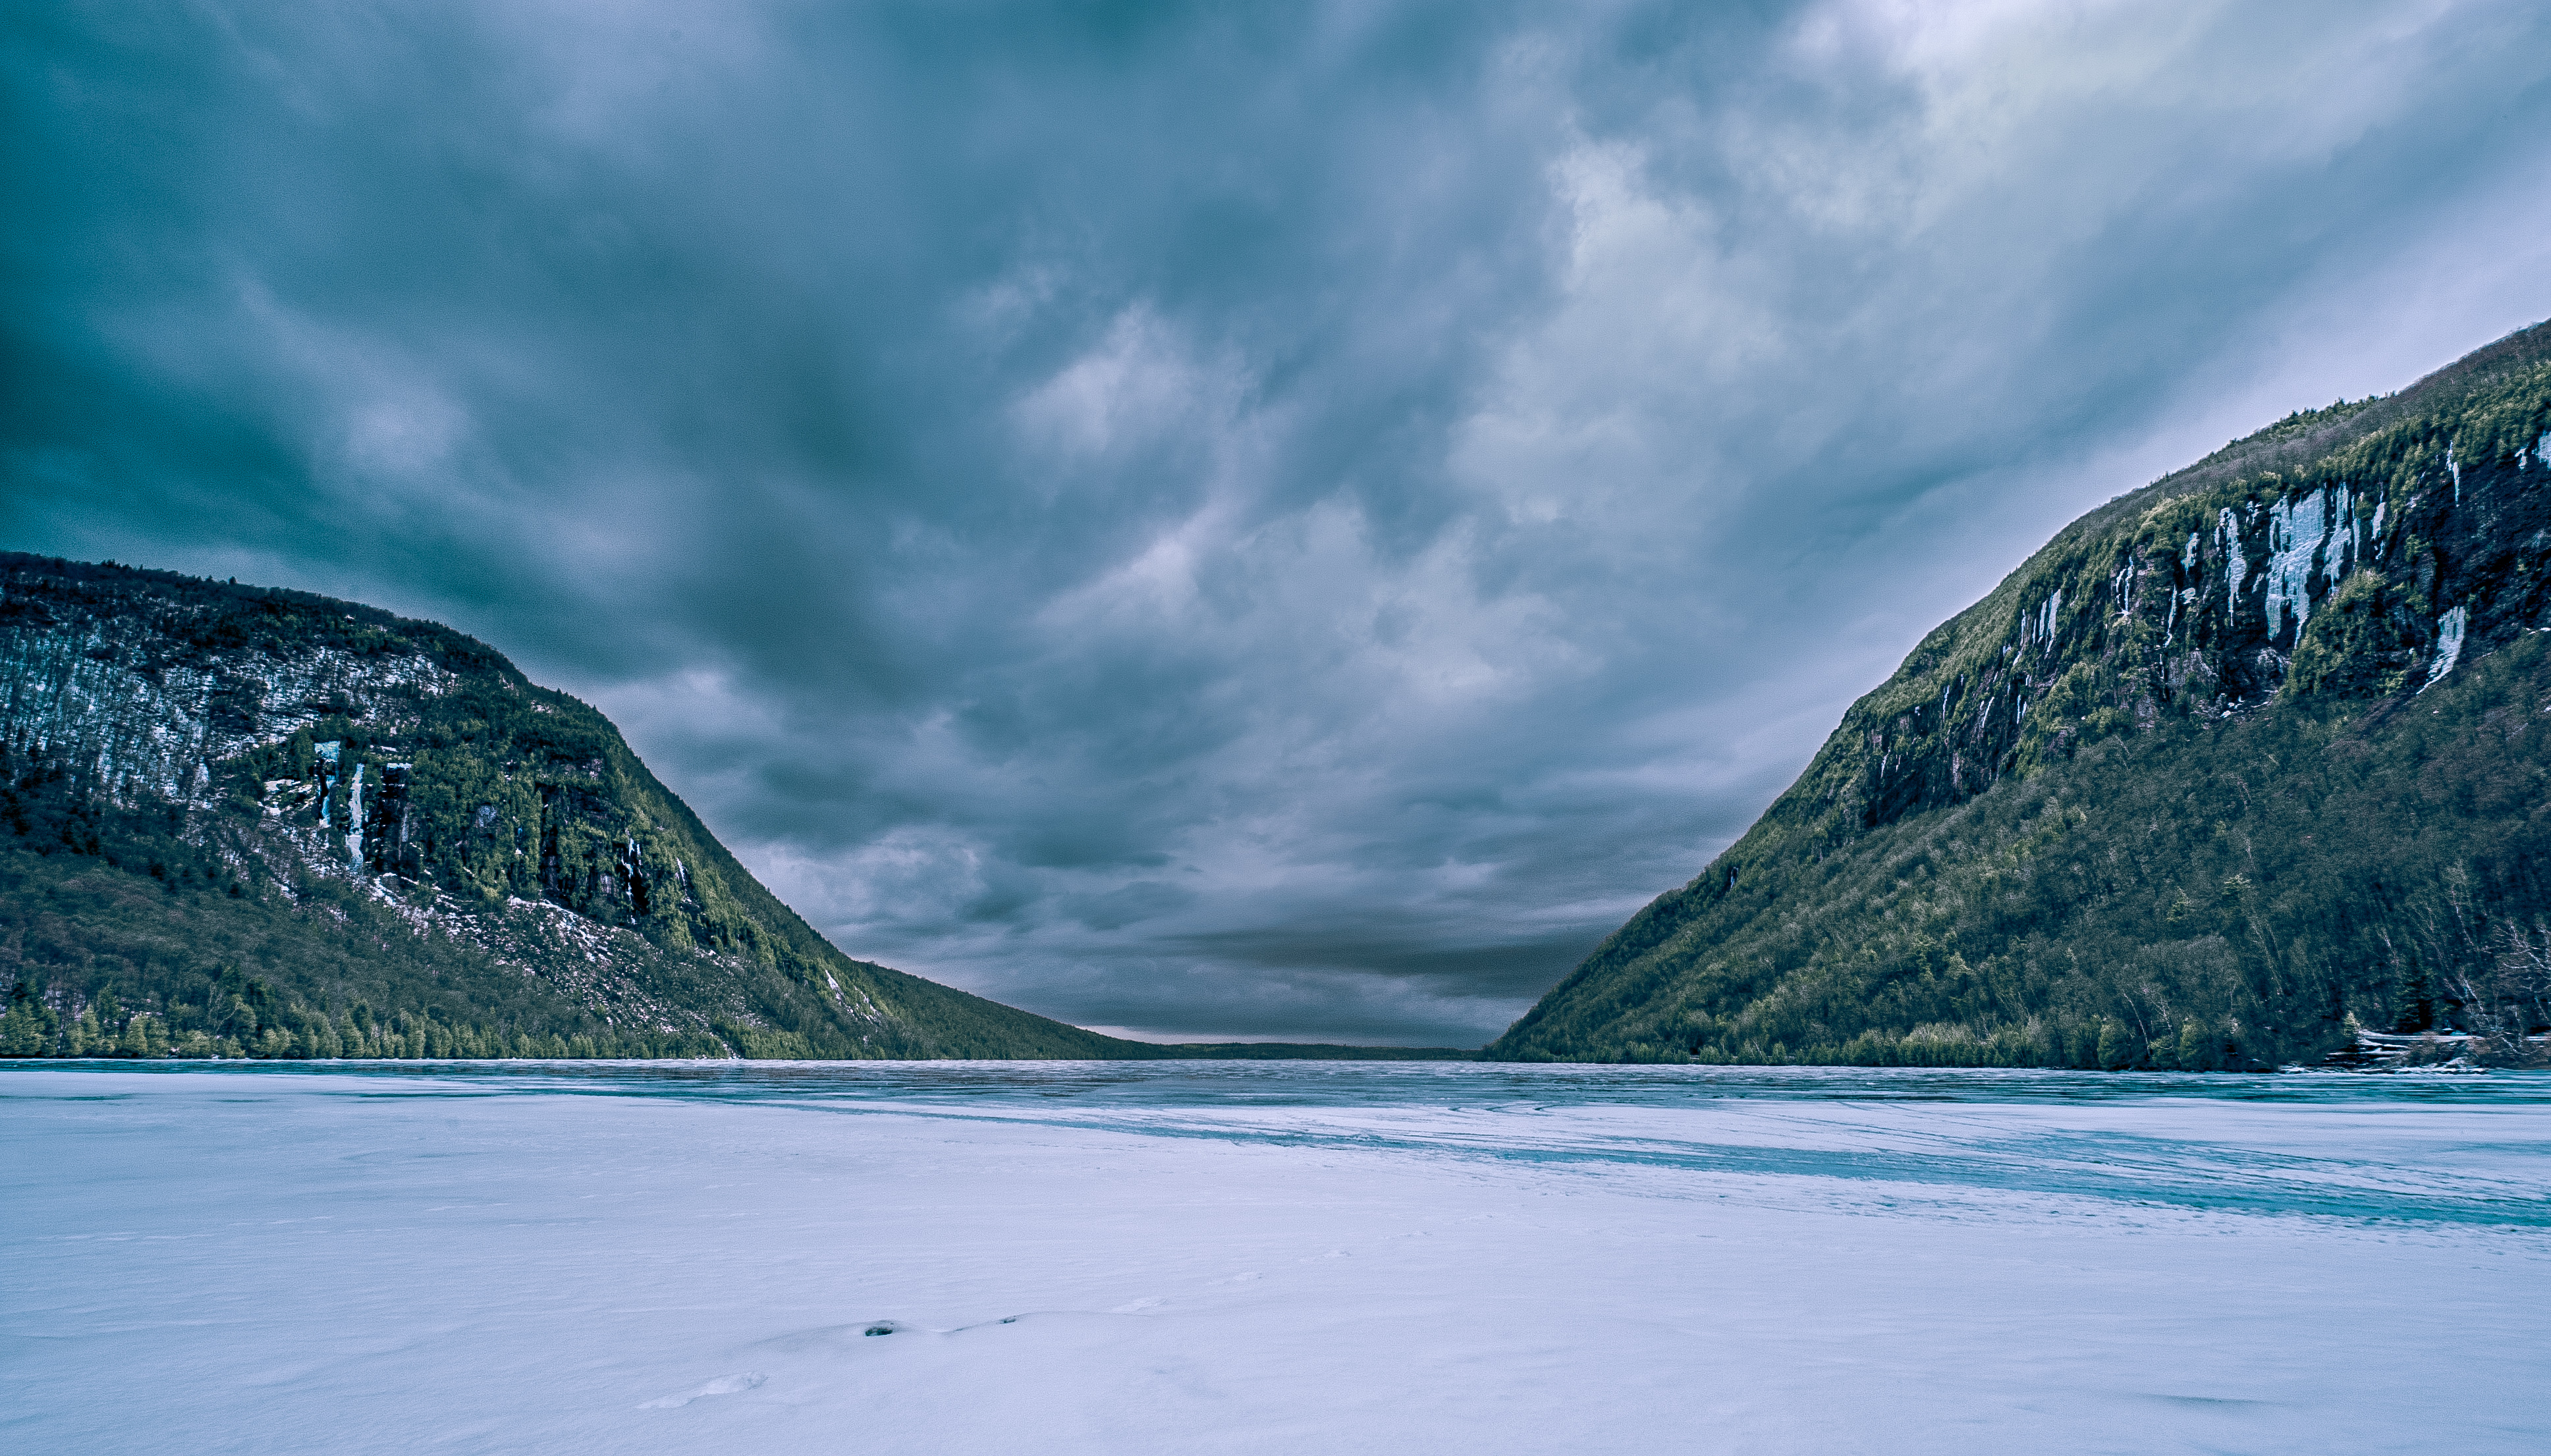
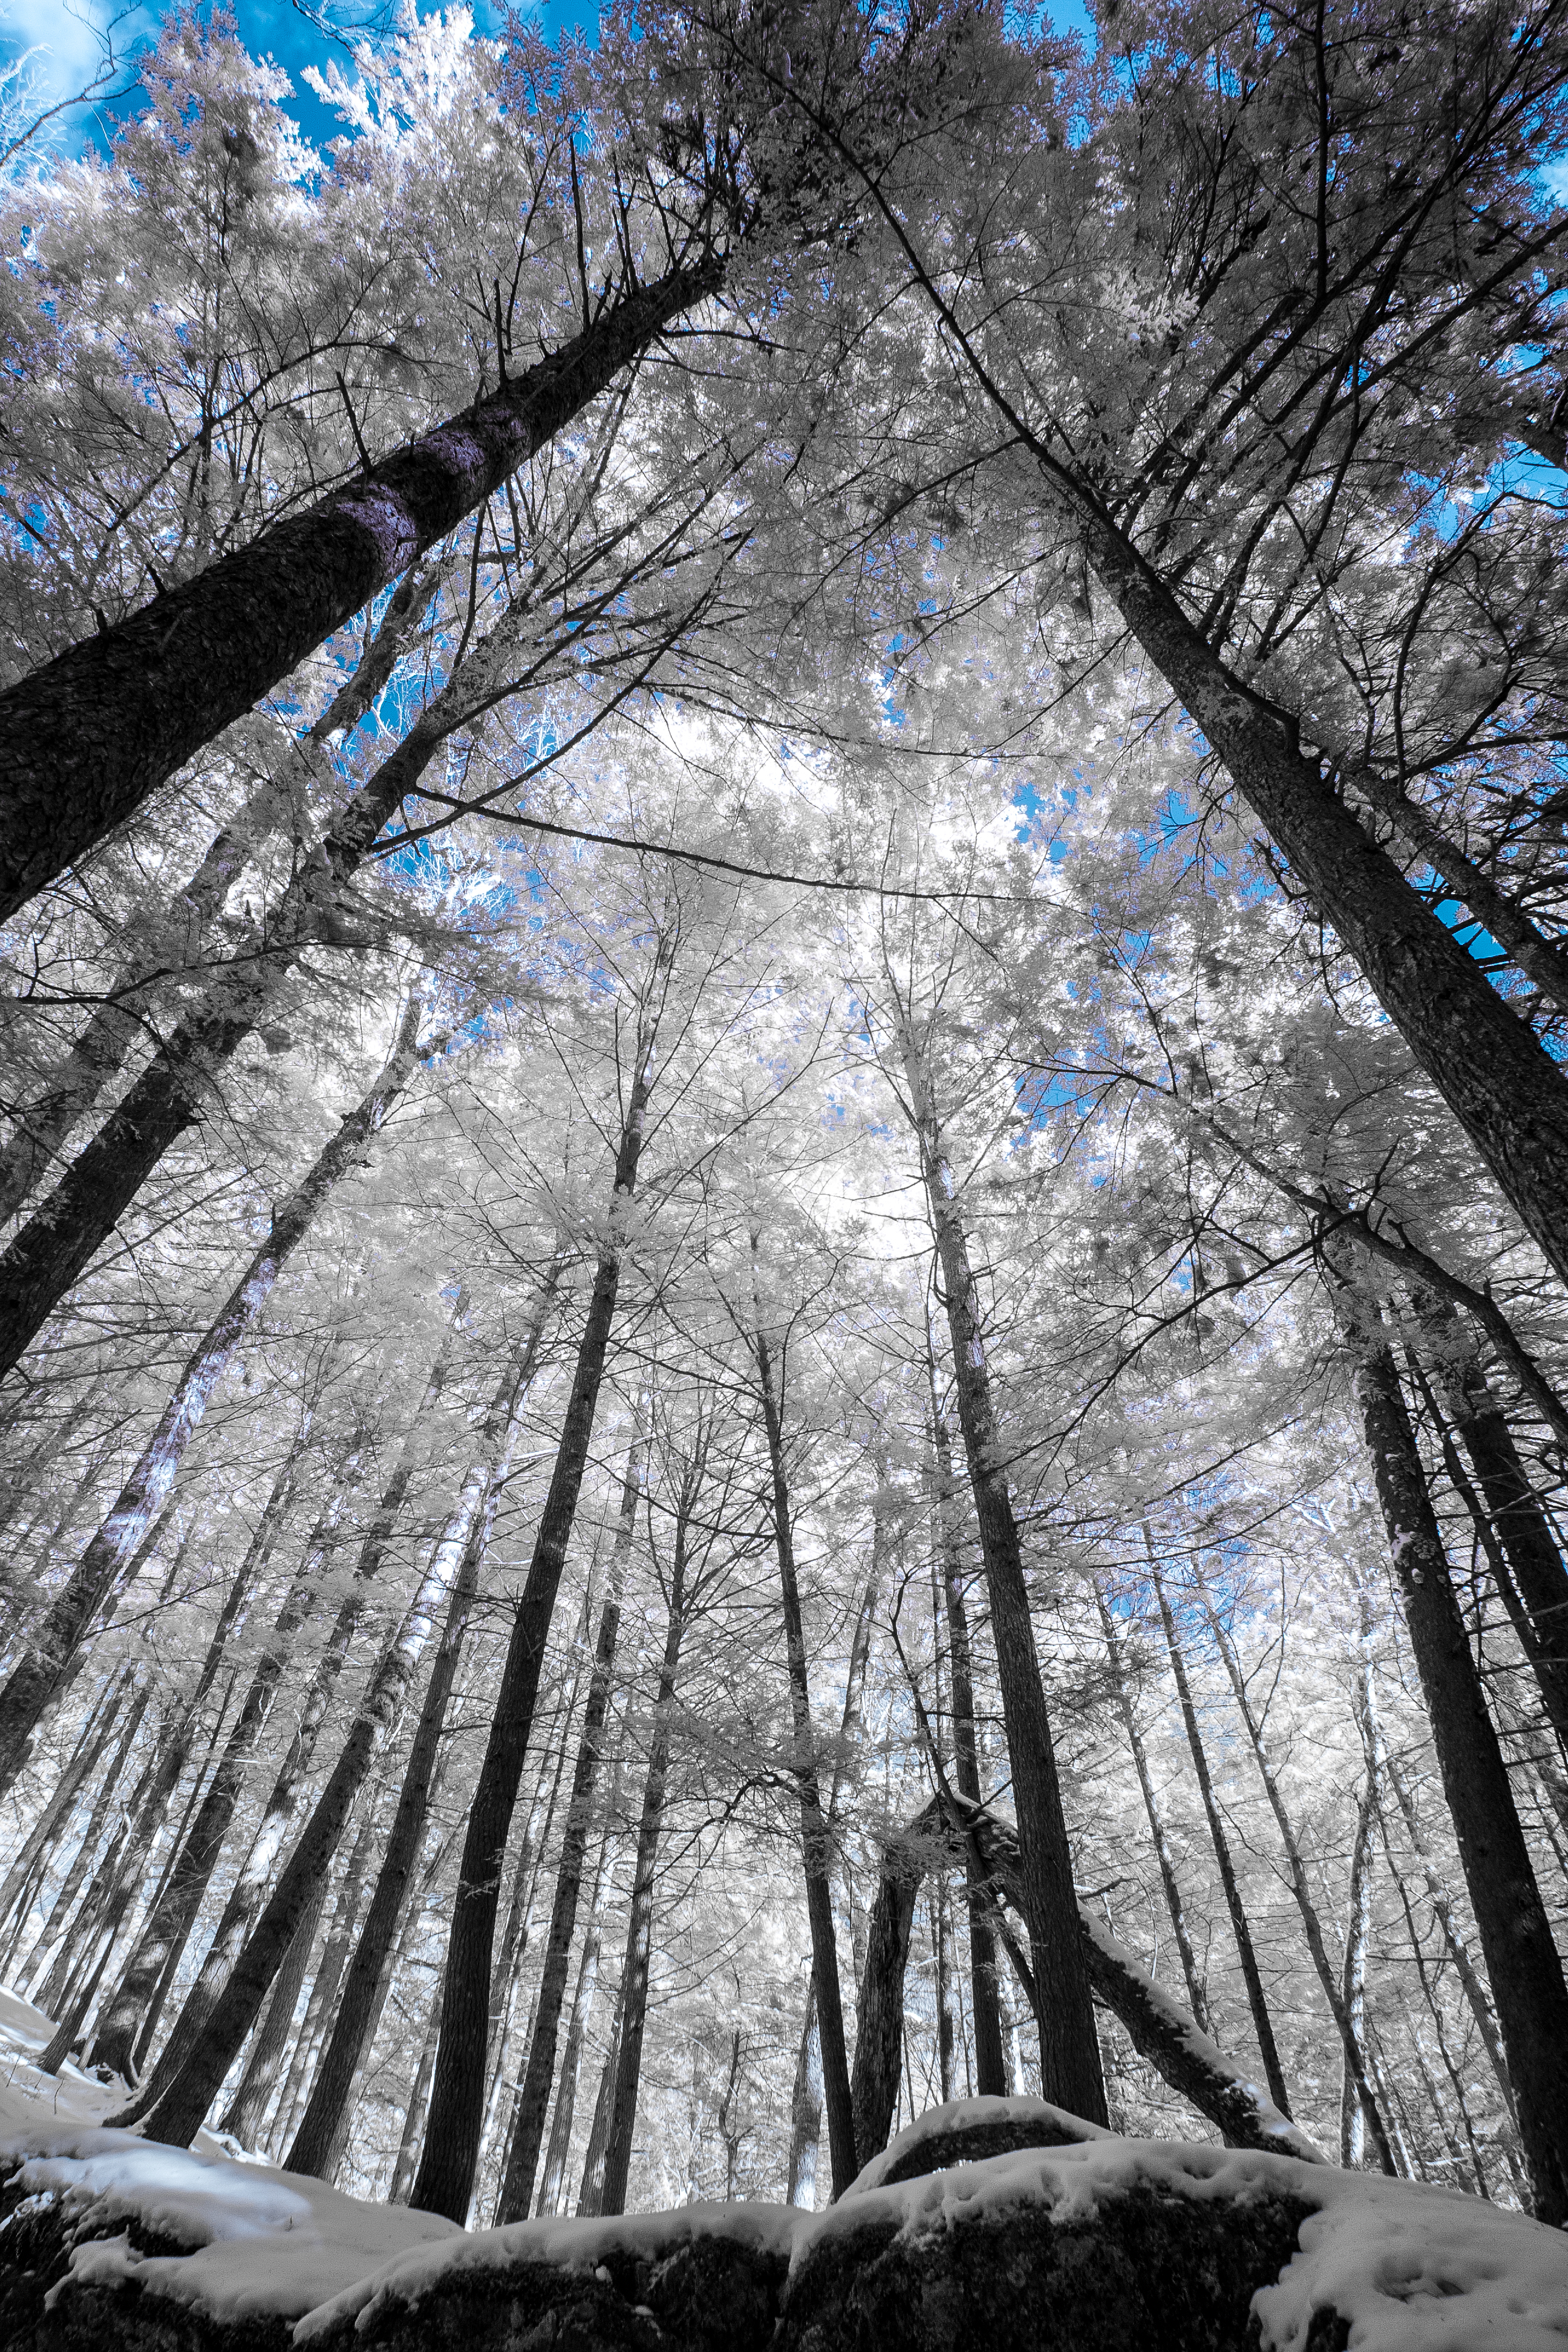
The Super Color IR or 590nm (will refer to 590nm from here on out) allows for deep blue skies and doesn’t completely turn the forest white. I liked that because I converted an action camera and figured I would point this beast at some wildlife from time to time; maybe getting some color on my subject.
Infrared photography isn’t for everyone
Aside from the fact that not all tastes are the same Infrared shooting requires commitment. If it isn’t a chore to carry extra IR gear into the field post processing is certainly more involved.
I use a combination of Adobe Lightroom and Photoshop to process my RAW files and a lot of the time Lightroom is all that’s needed for some quick editing of the basics. Photoshop is a different beast entirely that can be utilized for fine tuning or complete manipulation. When it comes to infrared Photoshop is necessary every time for a workflow that is more along the “manipulation” lines than “complete,” but definitely not just for minor tuning.
An example IR post processing flow (I’ll follow this article up with a more in-depth one):
- Import image with Lightroom and choose the ones you want to adjust
- Move to the Develop module to change the camera settings to a pre-downloaded profile for IR
- Adjust the white balance till you have things as close to a “stop light red” hue as possible
- Export to Photoshop
- Apply a channel swapper to flip the red and blue channels
- Apply a hue adjustment to tune the red and/or blue to something more “eye friendly”
- Do whatever tuning you see fit in Photoshop
- Send back to Lightroom
- Do your regular Lightroom adjustments and flip the photo back to Photoshop if necessary
- Done
Now that’s some very light infrared editing!


Tips for shooting with the LifePixel Infrared Super Color Filter
Don’t shoot into the sun! It is like looking at atomic bomb blowing up and could blind you….no, just kidding. The sun flares an evil light across your image or makes a reverse white vignette with the center of your image being weirdly bright. This can also happen if it is super bright out, so you need to play around with some test shots. Fortunately, you can see it when reviewing your shot on the camera’s screen.
Filters are unpredictable. Or maybe I’m just having a tough time with them because I mostly utilize filters to better control that flaring bastard: the sun. When using a long exposure filter (ND 3.0ish) 90% of the time I’m getting that reverse vignette. Again, I think this has to do with too much light being present. I’m usually going for a long exposure filter when shooting moving water and can’t get a slow enough shutter speed due to sunlight.

Trust your exposure meter. Due to the darkness of IR RAW files (remember it is all about post processing later) reviewing things on the camera screen are not going to be flattering. Those images are going to be dark. You’re not going to be able to gauge detail the same way you would with a non-IR body. I like to take an image that is 1 or 2 stops overexposed just to make sure things are going the way I want while in the field. It helps to be shooting from a tripod so you can simply adjust shutter speed to get back to a properly exposed image.
Magic lenses are even more magical in infrared. Maybe this is just the case with my 1DIII, but it seems like my best glass comes even more to life in IR shooting. My lesser performing lenses seem to be total dogs in IR. And the Canon 16-35mm f4L IS deserves a shout out because, with IR shooting, I now think this is the best lens Canon ever produced. It makes portfolio-worthy images every click of the shutter!
Once you get the hang of post processing your IR images, take a look at luminosity masking. Just search for it and watch a few YouTube videos once you are comfortable with channel mixing and hue changes. Luminosity masks will take things up another notch.
Conclusion
IR is badass! It is a very fun way to show things from a totally different light….spectrum. It takes commitment. The best way to utilize your IR camera is to either plan shots for it or just have it in the bag all the time. Due to how unpredictable it can sometimes be it is a little bit like gambling when you use it. I carry it on almost every outdoor nature shoot and take a few shots to see how it is going to do. Nearly 30% of the time the IR images crushed the normal shots, becoming the main images of the day. But I will end on a caveat that if you don’t care for post processing, then you should just write infrared off.