I have been into photography since the age of 7. My grandmother had her own darkroom and it was so much fun to fill a roll of film and (conveniently) develop it at her house within minutes of shooting. It was as close to having the immediate reward digital photography brings one could have in the 1980s. I mention this because what I’m about to tell you about perfectly tack sharp images is actually a practice as old as film! Digital has made this practice so much easier and better, but it isn’t something new.
In film days a photographer would line up a shot and focus on one specific part of the composure >> engage the shutter <click> photo 1 >> focus on another part of the composure <click> photo 2….and so on. The photographer could do this twice or 500 times. After developing the images he would then grab scissors and tape to cut out the most in-focus parts of those images and then tape those focused parts together. Sounds like fun huh? Sounds like the perfectly seamless image to frame for the gallery. No wonder the art of focus stacking wasn’t widely practiced in the film days.
Having been into photography for 30 years now (wow), and having been pretty serious about it over the last 10 years I am shocked that I am just now realizing the advantages of focus stacking. It was the highly detailed and fully in-focus images of tiny insects that got me researching how they did it. You see, an image’s depth of field (what’s in focus) narrows the closer the camera is to the subject. In the macro world it doesn’t matter if you’re shooting at f16 when you’re inches away from a fly because you’re still only going to capture a small part of that fly in-focus.
These two images are examples of this. In the image of the bee you can see the wings are not fully in focus, so the only area of focus was the closest part of the bee’s body. You can even see how little of the flower is in focus. Whereas the weevil photo….well, that speaks for itself!


I need to give photo credit to André De Kesel for the weevil image. Be sure to check out his other work on Flickr – it is amazing!
Depth of field is simply how much of the photo that’s in focus and it is mostly based on the distance of the subject to the camera.
If bugs are one extreme, then mountains are the other end. Depth of field is a little easier with such a large subject, but fine detail can easily get lost when dealing with these large subjects. I find landscapes where the foreground and background are in sharp focus to be more captivating. When viewing a photograph your eyes follow the direction of focus and contrast first, but fine details can hold your attention longer. That’s a more pleasing experience!
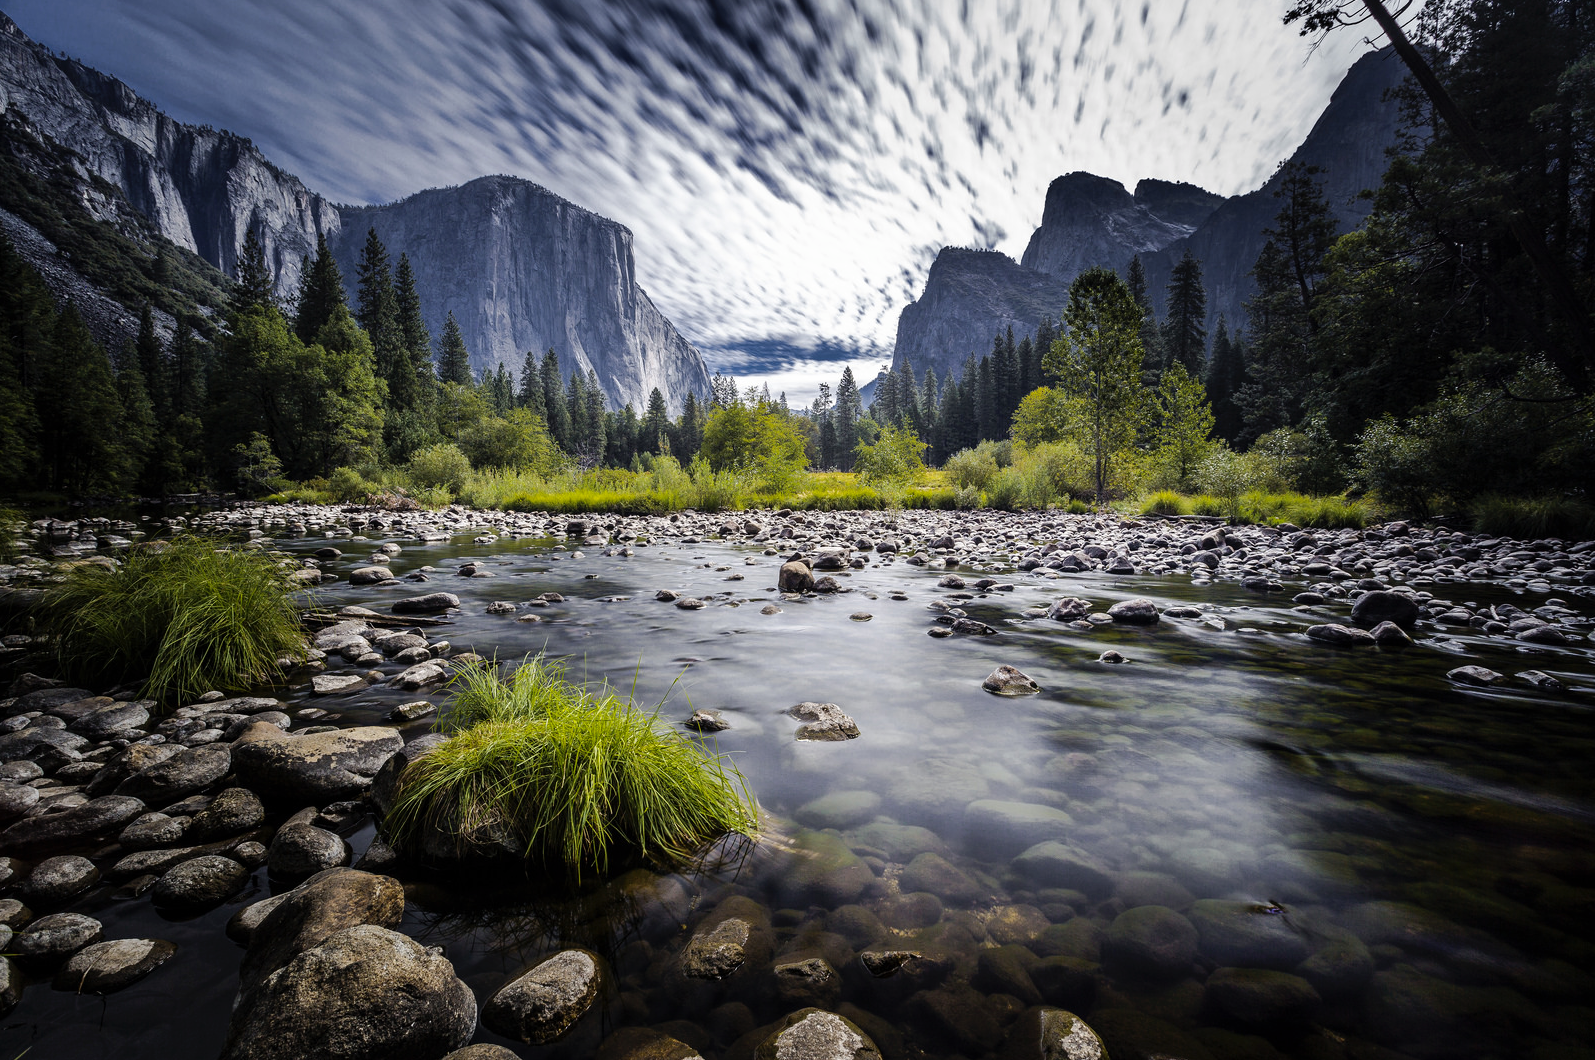
Exampled above is an image from Frederic Huber that stands out above so many other Yosemite shots I’ve seen like this before. Frederic has captured virtually all the fine detail one can possibly capture with today’s consumer technology. And that detail keeps my eyes wondering endlessly examining everything in the shot!
Although I don’t know how Frederic pulled it off (maybe just the incredible detail of Canon’s 5DsR I assume he used), but this amount of sharpness can be achieved with focus stacking.
Unlike this next landscape that I took. All the detail is on the rocks closest to us while everything in the background is slightly out of focus. If I could take this image again I would have focus stacked it to carry full focus throughout the entire image.

What do you need to focus stack?
A digital camera with the ability to manual focus it, a tripod, and software that can do the stacking are all you need for focus stacking. The software is key and the typical photography software is Photoshop. Photoshop can automate your focus stacking quite easily, but it won’t always give the same results some of the dedicated focus stacking softwares can – I’ll get back to that. First, let’s cover each step of the process.
Setting up the shot – duh!
You have to compose your shot obviously. For focus stacking you’ll want an image that isn’t changing. So, this isn’t going to work well for wildlife or high action sports. Moving water, clouds, and things of that nature are fine, but don’t expect a windy day landscape shot of trees to turn out great.
Once you have your shot switch your focus to manual mode (usually a switch on the lens). If you want, you can also switch your White Balance off of Auto for something more consistent, but you can fix that in post processing later. I’m going to assume you understand how to set your aperture and shutter speed in manual mode with your camera’s light meter. But I will remind you this works best with your camera in M mode (Manual). Not P, not Av, not Tv.
If you’re shooting in AUTO, you’re reading an article that is probably a bit advanced for you at this point.
Taking the shots
With your lens set to manual focus find the thing closest to you and focus on that. Then move your focus ring slightly toward it’s minimum focus direction (not the ∞ direction …infinity) so that everything in the frame is out of focus. Now you’re ready.

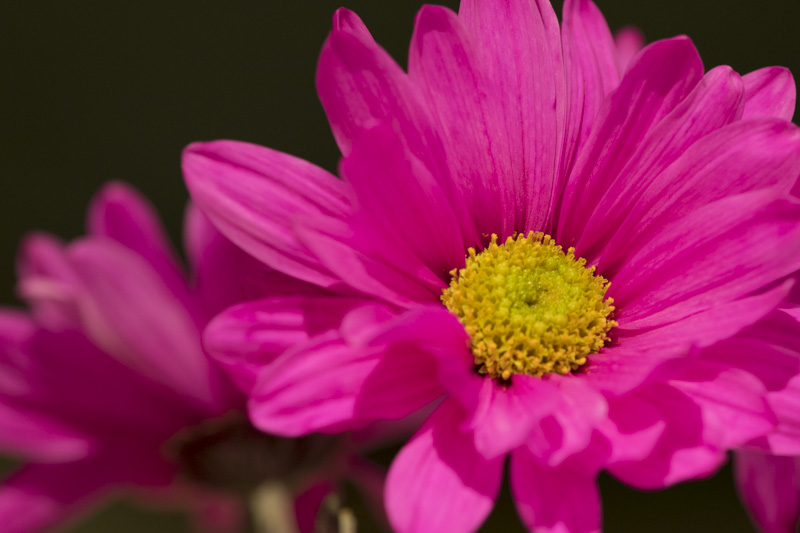
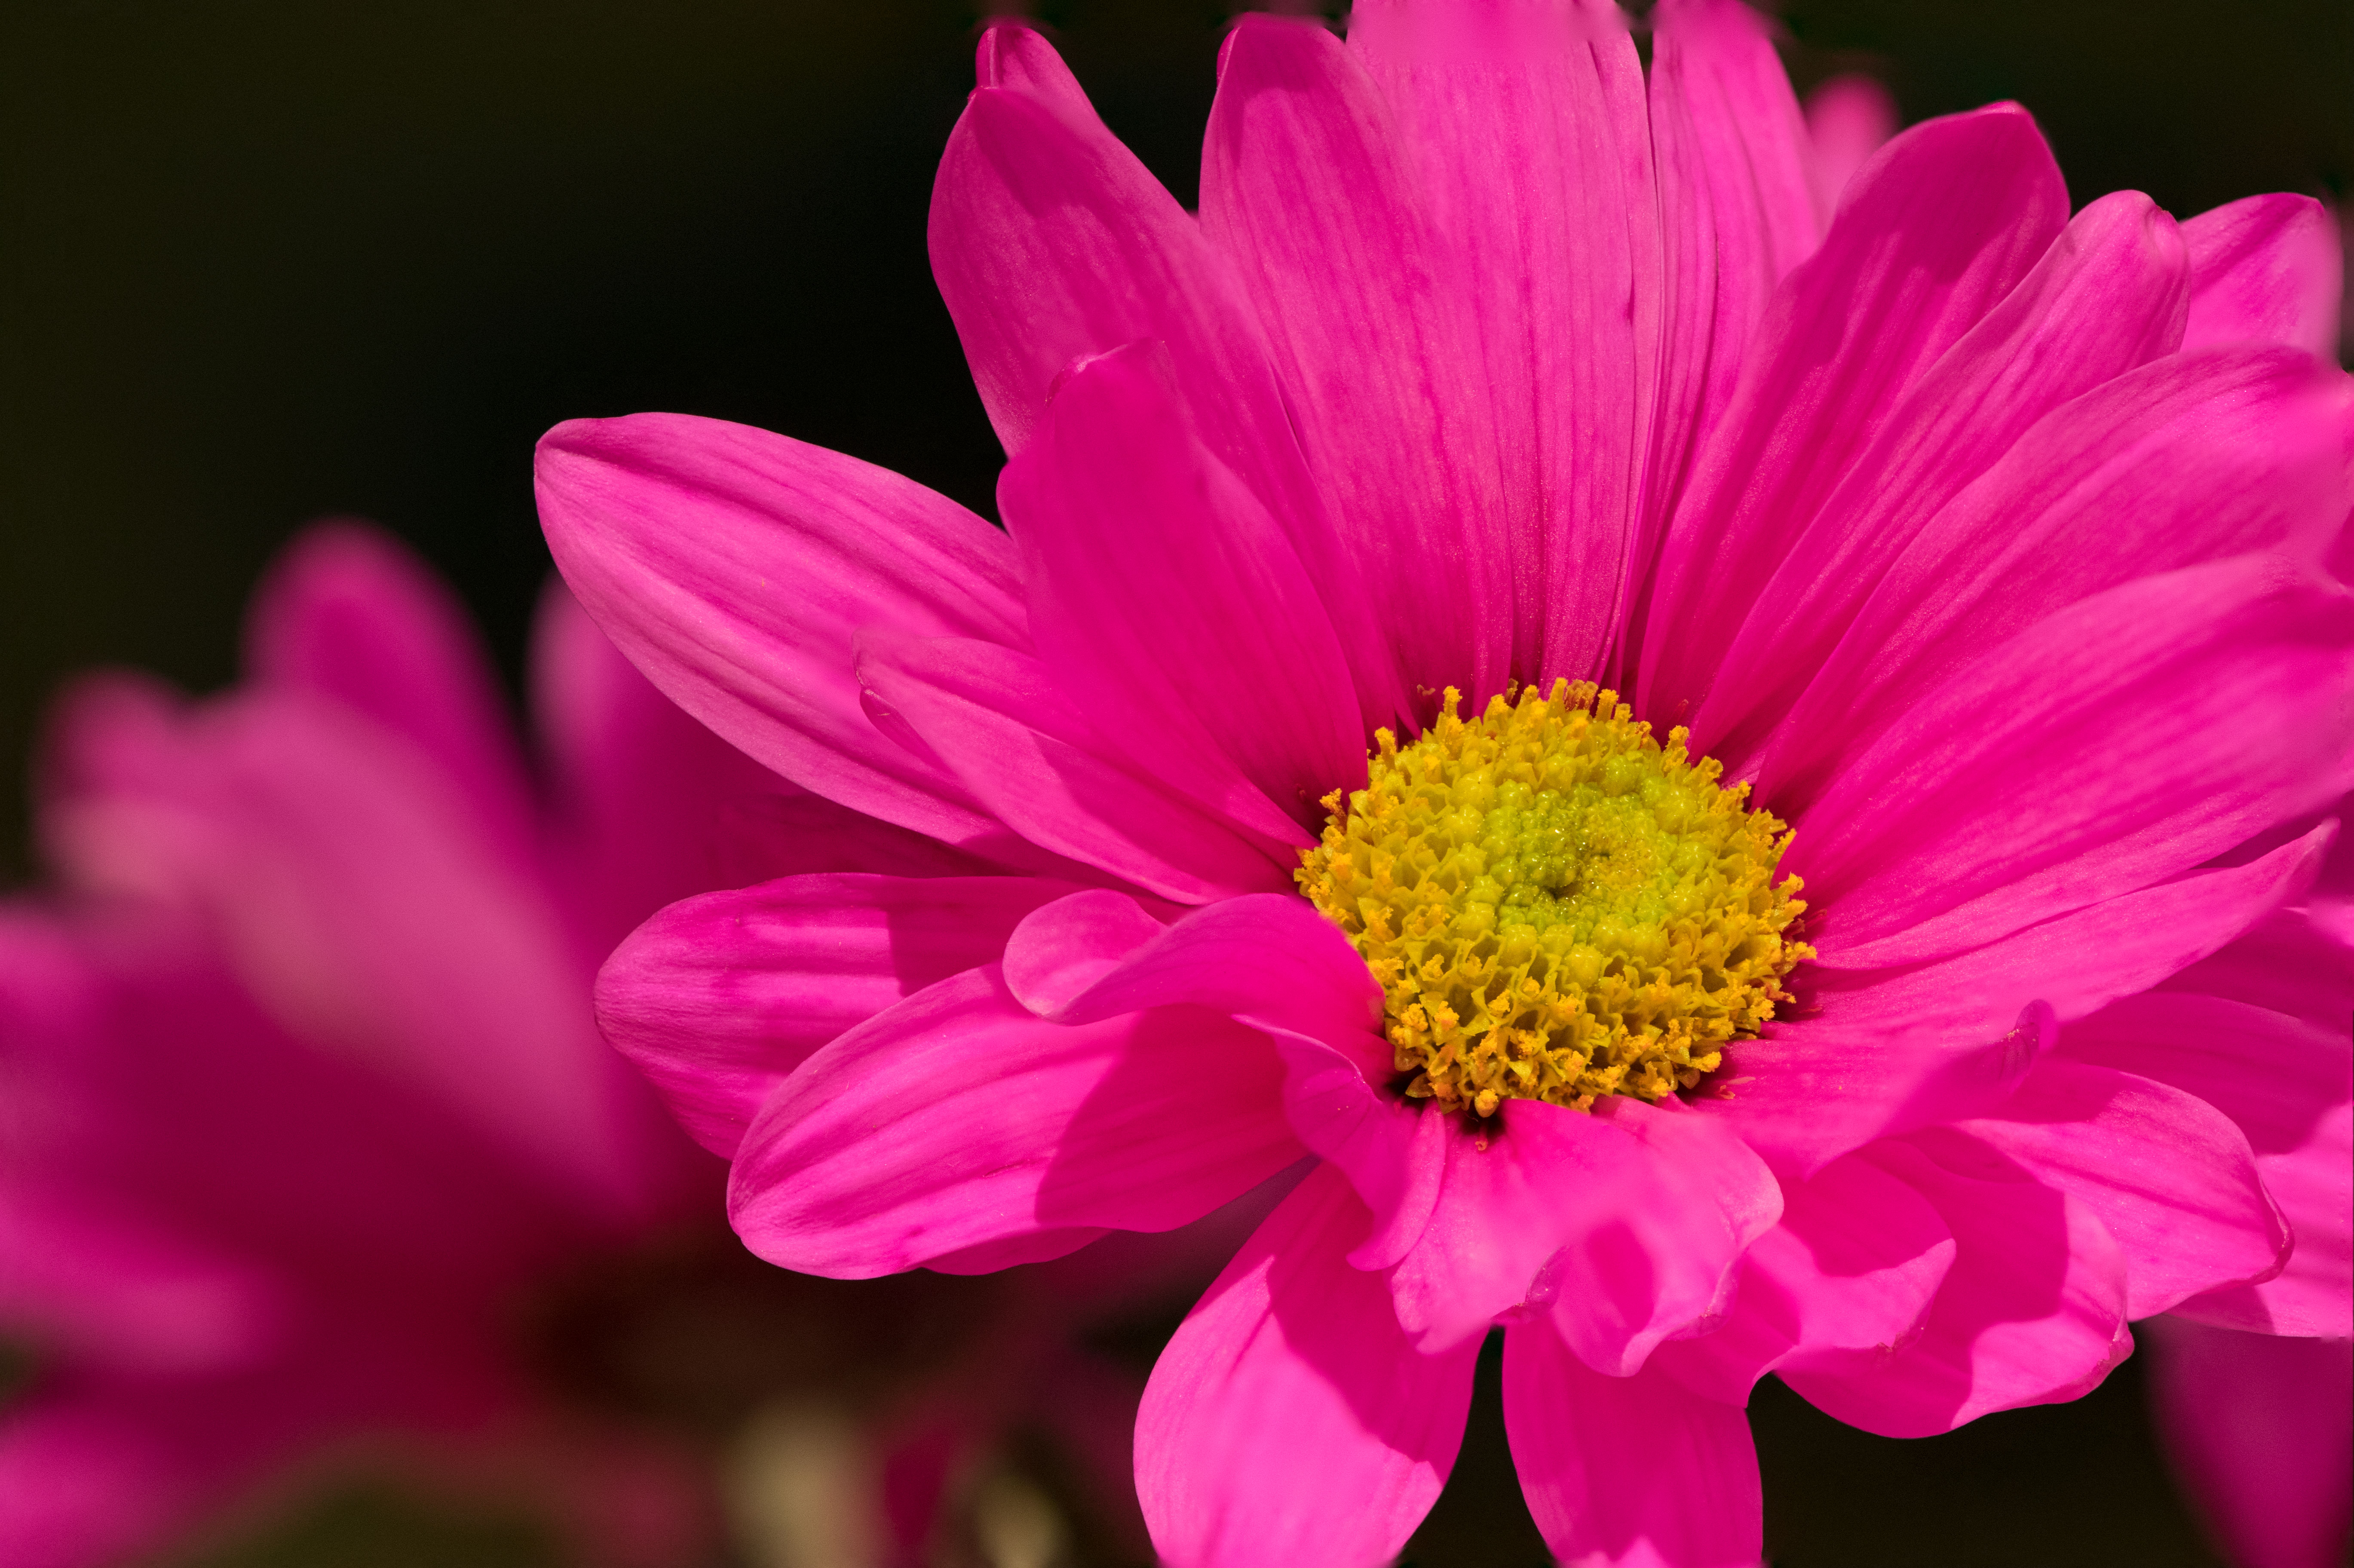
These example images were shot at f5.6 with a Canon 180mm f3.5L Macro lens. I was roughly 3 feet away. The distance and aperture were chosen to make sure the flower in the background (less than 1 inch away from the flower I wanted to shoot) stayed out of focus throughout my entire shooting stack of 21 shots. Yes 21 shots is insane overkill for this, but I’ll talk more about that in the Cam Ranger section.
Time to post process
Once your images are on your computer it is time to adjust the white balance on all of them so they’re all the same. If using Lightroom this is very easy. 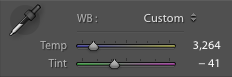 Grab any image in the set and head over to “Develop” to find the white balance you like most. Set it and then go back to the “Library” where you should see a Sync Settings button in the bottom right corner. Click Sync Settings and you should get a pop up with a bunch of check boxes.
  Turn off all the check boxes and then select White Balance. Ok it and let Lightroom sync things up.
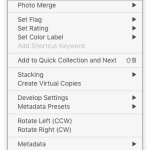

Now it is time for Photoshop. Select all your images in Lightroom and right click to find “Edit In” and “Open as Layers in Photoshop” which will open Photoshop with a single PSD file showing all your images as layers.
Depending on the “beefiness” of your computer this could be a good time to grab a drink, read a book, watch a TV show, or make a sandwich.
When it is done you’ll see your stack of images in the layers window. Now select all of those layers by clicking the top layer, holding the SHIFT key and clicking the bottom layer. Then go to Edit and find the “Auto-Align Layers” option.


Leave the settings on Auto and let Photoshop do it’s magic matching up edges and things to fix where some of the manual focusing would have shifted the image plane slightly.
Once that is done you’ll probably see some transparent space around your images and that’s good!
 Now go back to the Edit drop down and select Auto-Blend Layers. Click the Stack Layers option. Photoshop is now searching each layer for the sharpest pixels. The pixels it deems not to be sharp will get masked over and the end result should have a layer window looking something like this:
Black on Photoshop masks is hidden areas while white shows through. At this point you have a focus stacked image and can call it a day or go to town editing things that Photoshop might not have nailed.
You’re done!
If your Photoshop stacking results are anything like mine you’ll figure out pretty quickly that Photoshop editing these masks and layers is a necessity for having a perfect image. In fact, I found myself having to do so much afterwork that I searched for an alternative.
I looked at Helicon and Zerene and settled on Zerene. Photographers swear by either, but I got better results with Zerene.
Zerene focus stacker cut my focus stacking software time down to the point where I might be averaging around 2 minutes doing all the focus stacking work. Whereas I could spend anywhere from 20 minutes to 3 hours trying to fix Photoshop’s misses.
Not to dog on Photoshop because it is the most amazing pixel editing software, but it doesn’t always handle niche photography jobs well.
I’m not going to do a full tutorial on Zerene. Try the Photoshop route first and you’ll quickly discover the amazing capabilities of focus stacking and then long for something quicker. Zerene is free to try for 30 days. But I highly suggest trying things the hard way first (it isn’t that hard).

Automating focus stacking
Oh yes, you can make this practice really easy! It will cost you some money because you’re going to need something called Cam Ranger at the least.

Cam Ranger makes it so you can control your camera from your phone or tablet. It opens all sorts of doors for creativity, but let’s focus on focus stacking.
Within the Cam Ranger app there is an option to setup an automated stack of images of varying focus degrees. You still compose your image and follow all the steps I’ve outlined with the exception of clicking the shutter button yourself. Within the app you select how many images you want Cam Ranger to generate and whether you want the focus change to be small, medium, or large.
In my testing it seems:
- Small = insects
- Medium = larger flowers
- Large = landscapes
The flower example above was composed with Cam Ranger. I originally started on small focus changes, but this flower should have been on medium. This is how I ended up with so many images to stack.
But the process of doing it was so easy. Once I hit Capture on the Cam Ranger I walked away and had a conversation with the family. Walked back, grabbed the memory card, threw it in the computer and then started the post processing.


Why do I like this automated method?
After you’ve tried some focus stacking you’ll inevitably discover that you will have missed a focus point in a composition. Cam ranger never misses. It can fall short of focusing through the entire composition, but it easy to tell it to keep going. On top of that it is nice to not be touching the camera when taking any images. The less you can touch your camera the more sharp things will be. I also LOVE the larger view screen because it is much easier to see that something is in focus.
Conclusion
Focus stacking is worlds easier in the digital age. Despite how long this tutorial seems it is actually very simple to pull off. And what it does to your images is mind blowing! If you’re into photography, and have the gear to do this, you should at least try this method.
You can focus stack for product photography for stuff you want to showcase online. Think about eBay, Craigslist, Etsy, and even automobiles.
It is really amazing for macro photography of still subjects like plants, flowers, and slow/non-moving insects.
My favorite is in landscape work. Having an entire composition in tack sharp focus is a rarity in most landscape images. Not only does it more accurately depict the scene it is more captivating to look at.
Have fun with it and let me know if you have any questions.